¶ Getting Started
This guide walks you through your first login and helps you launch your first phishing simulation campaign in minutes.
¶ Step 1 — Log In
The platform uses a two-step authentication flow:
- Navigate to your organization's URL:
https://<your-subdomain>.<your-domain>/frontend/ - Enter your email address and click Connect
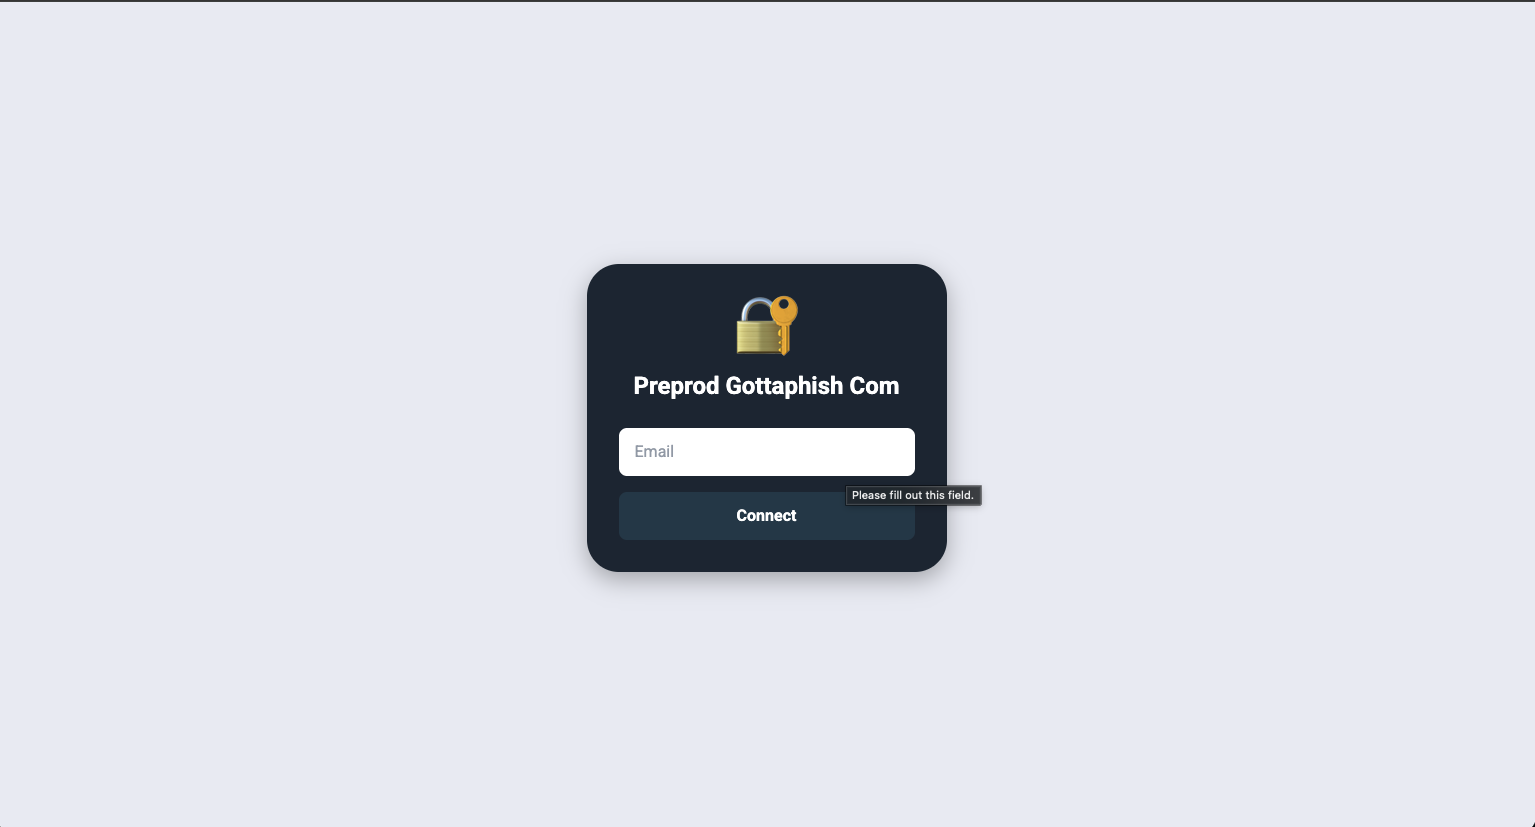
- You will be redirected to the password page — enter your password and click Sign In
Tip: If you don't have credentials, contact your administrator.
After a successful login, you will land on the Phishing Campaigns page.
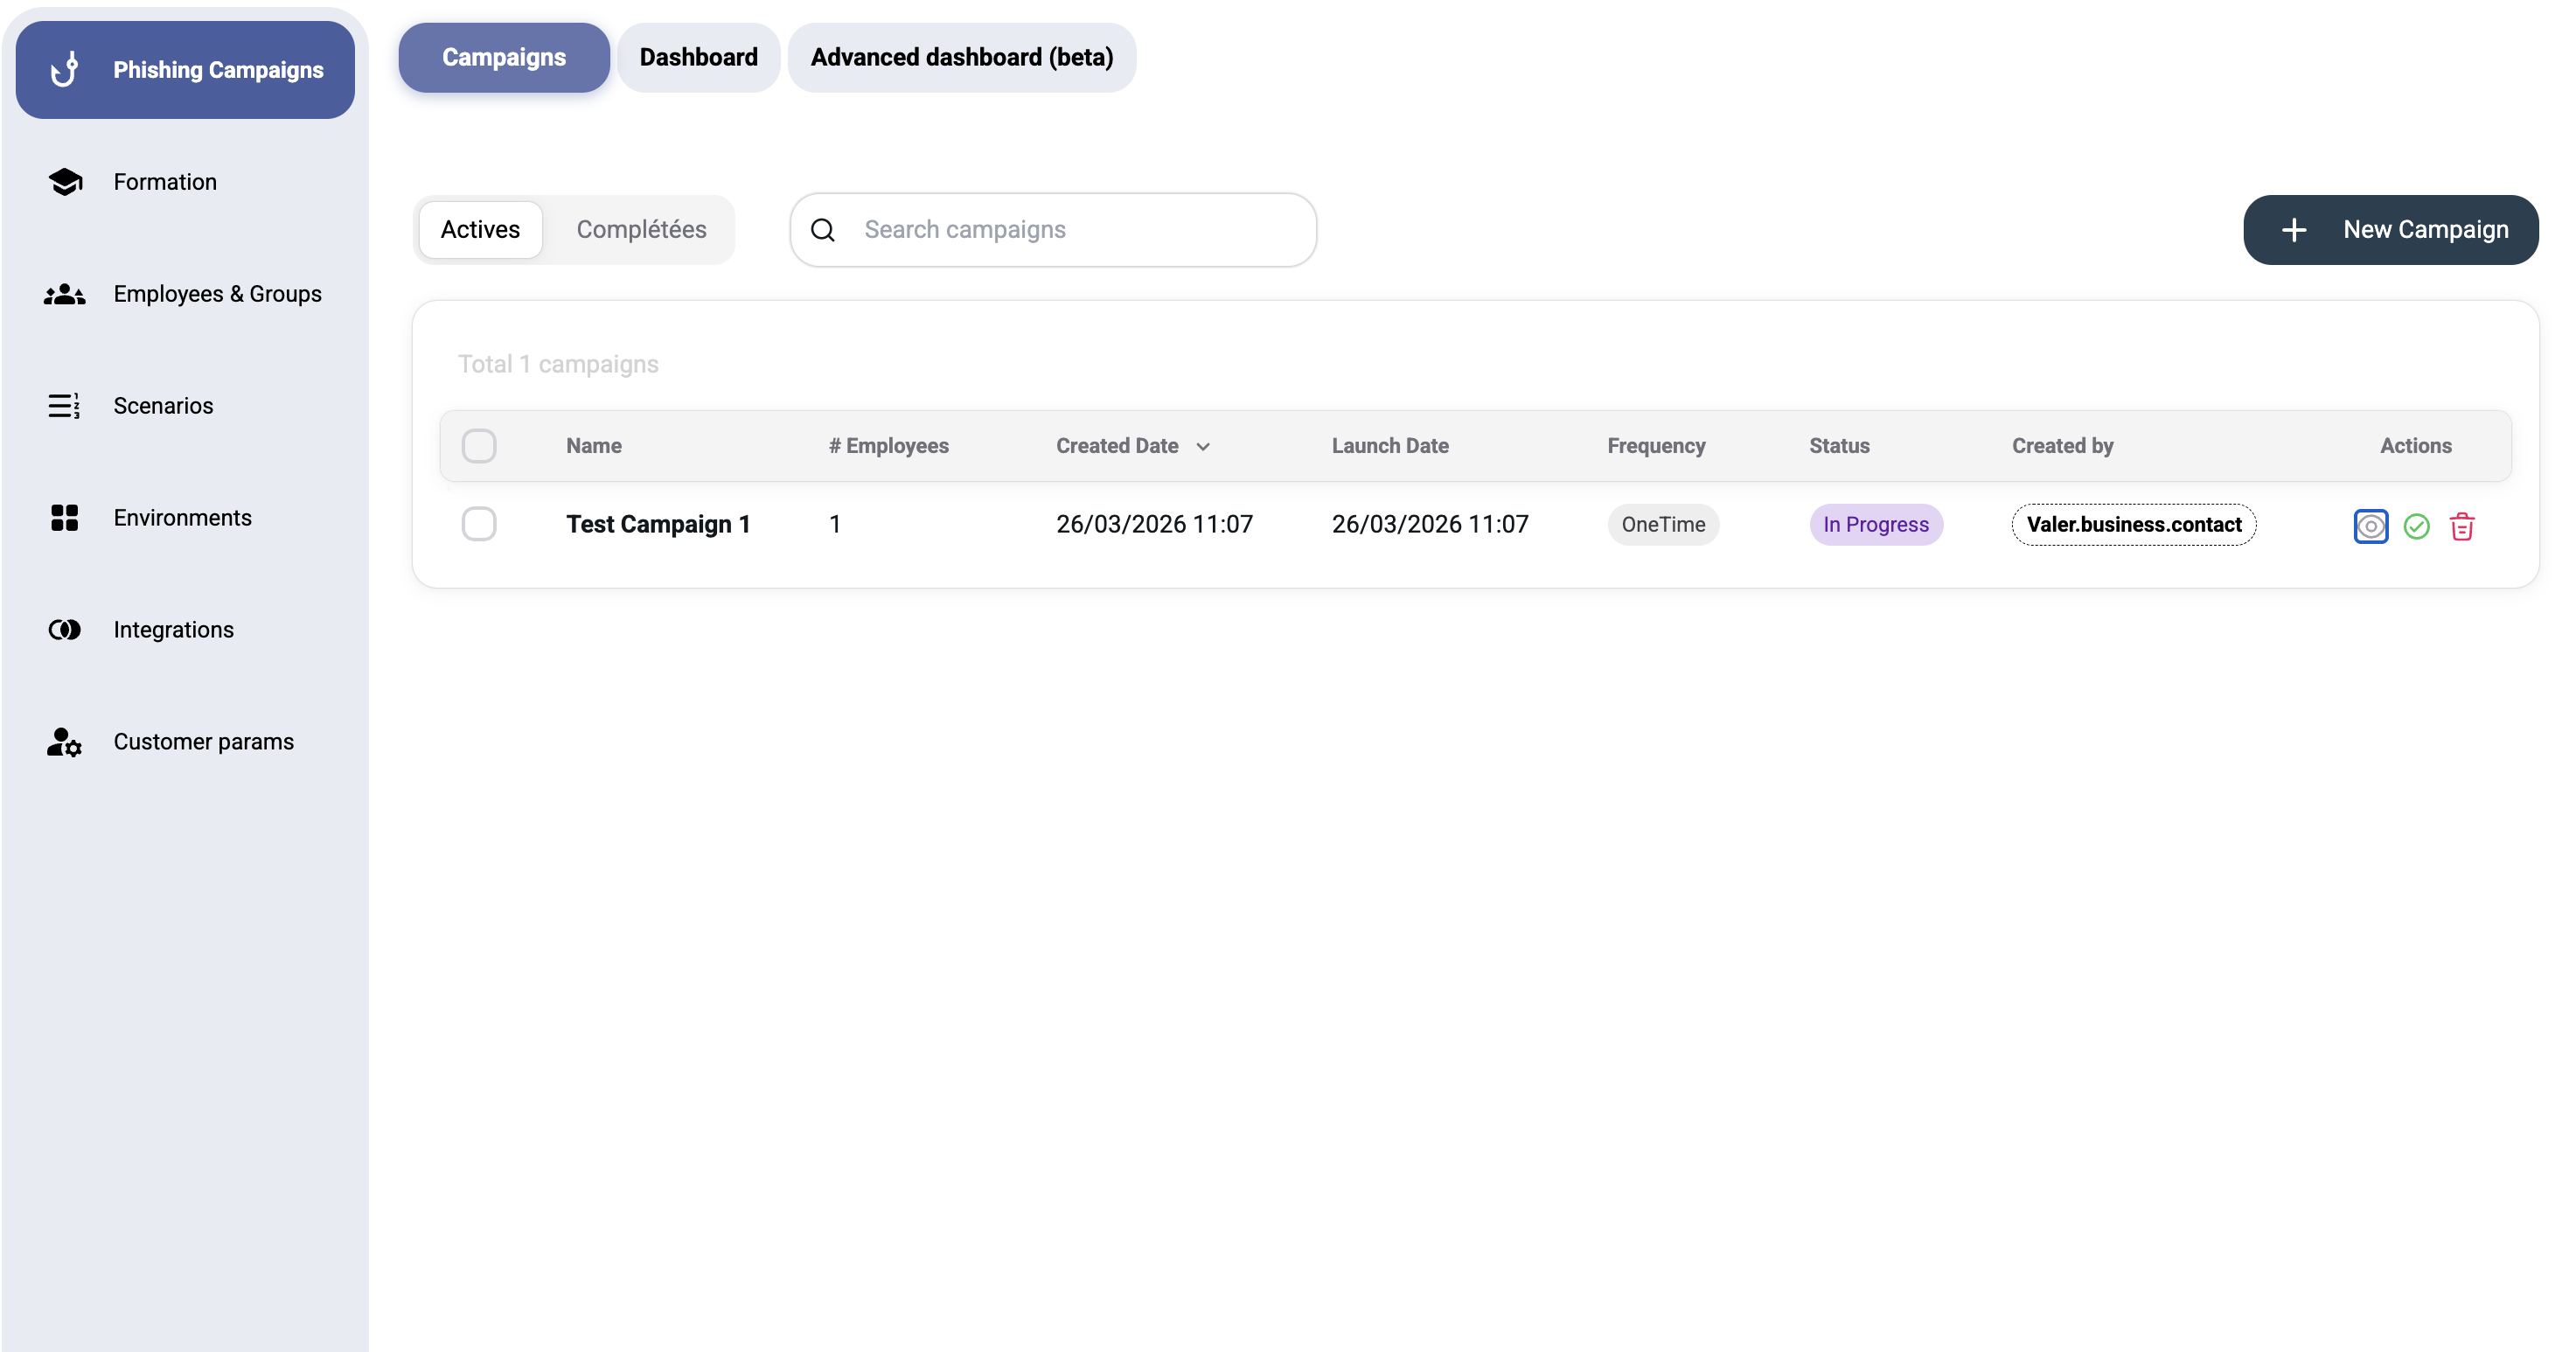
¶ Step 2 — Understand the Interface
Once logged in, you'll see the main navigation sidebar on the left:
| Section | Purpose |
|---|---|
| Phishing Campaigns | Campaign list, dashboard, and advanced analytics |
| Formation | Security awareness training (requires Moodle integration) |
| Employees & Groups | Manage phishing targets |
| Scenarios | Email templates for campaigns |
| Environments | Phishing sender profiles and landing pages |
| Integrations | Email delivery, webhooks, domains |
| Customer Params! | User accounts, licenses, and billing |
The top-right corner shows the currently logged-in user with a dropdown for account options and sign-out.
¶ Step 3 — Set Up Your First Campaign
Before launching a campaign, you need to prepare three things:
¶ 3a. Add Employees
Go to Employees & Groups → Employees tab → click New employee.
Fill in at minimum:
- First Name (required)
- Last Name (required)
- Email (required)
See Employees & Groups for full details.
¶ 3b. Create a Group
Go to Employees & Groups → Groups tab → click New group / Import CSV.
Choose between:
- Manual group — hand-pick employees
- Intelligent group — auto-populate based on filters (department, position, recidivists, etc.)
¶ 3c. Create an Environment
Go to Environments → click New environment.
An environment defines the phishing "theme" — the sender identity, domain, and landing page that targets will see. You need at least one environment before creating scenarios.
¶ 3d. Create a Scenario
Go to Scenarios → click New scenario.
Choose between:
- New Scenario IA — AI generates the phishing email based on your environment
- Manuel — write the email template yourself
Select your environment and configure the format (Email HTML, SMS, etc.).
¶ 3e. Launch the Campaign
Go to Phishing Campaigns → click New Campaign.
Fill in:
- Name — a descriptive campaign name
- Targeted group — select the group you created
- Optionally toggle Advanced settings to configure scheduling and frequency
- Click Launch campaign
Warning: You must have at least one environment and one scenario before launching a campaign. The platform will display a warning if these are missing.
¶ What's Next?
- Campaigns — Learn about campaign management, scheduling, and monitoring
- Dashboard — Understand your security score and analytics
- Scenarios — Deep dive into email templates and AI generation
- Integrations — Connect Microsoft 365, Google Workspace, or SMTP for email delivery